
Over time, walls in showers tend to collect soap scum, mildew and hard water spots. This tendency could lead to a less appealing appearance for your space. So, maybe washing shower walls isn’t always the most exciting duty on your list, but maintaining a sanitary and fresh bathroom environment is important.
Yet, with the correct technique and a little work, you can make the sides of your wash space spotless. The following is your complete guide for cleaning shower walls effectively.
Step 1: Collect Your Cleaning Supplies
Getting ready to begin requires ensuring you have all the necessary materials. You’ll need:
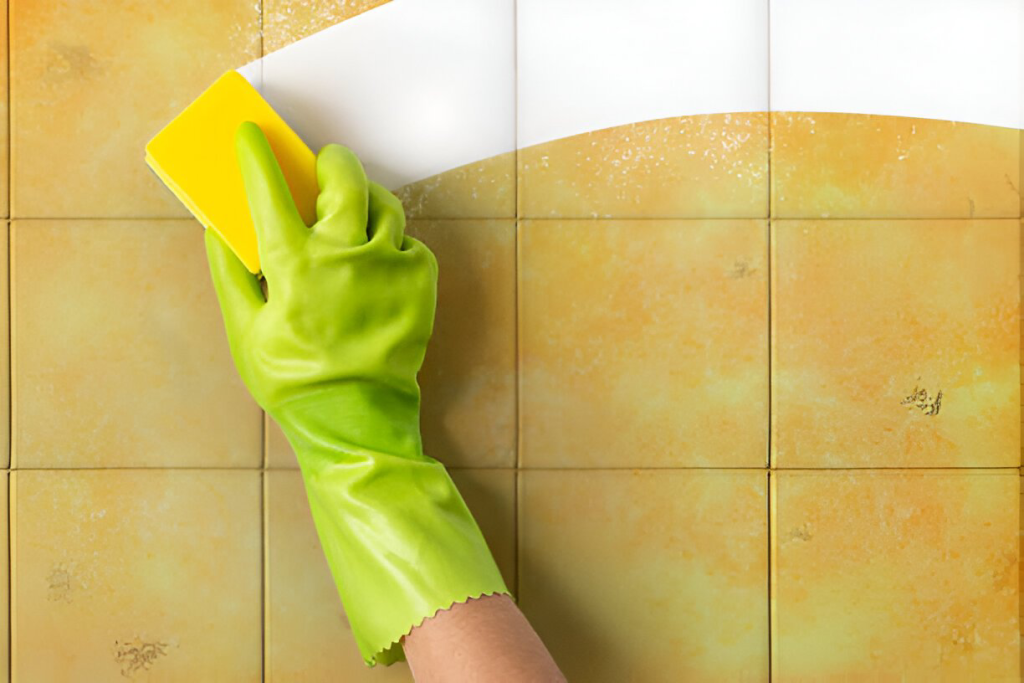
- Rubber gloves to protect your hands.
- A non-abrasive sponge or a soft cloth.
- A commercial shower cleaner or a homemade solution (vinegar and water or baking soda and water work well for most shower walls).
- A squeegee.
- A bucket or a spray bottle.
Step 2: Remove Everything from the Shower
Ensure you extract and set aside all bottles, loofahs, razors, and other items. Doing so gives you more room to clean, and rinse, and wipe down these items, keeping everything in your shower fresh and clean.
Step 3: Rinse the Shower Walls
The first step is to rinse the shower walls. If the head of your shower fixture is removable, take it off and use it as a hose to drench the work area. However, if you only have the fixed type, splash using a bucket or mist them with a spray bottle. This initial rinse helps the cleaning solution penetrate more effectively.
Step 4: Apply Your Cleaning Solution
Now, apply your chosen cleaning solution liberally to the shower walls. If you use a sprayer, ensure you give an equal distribution of the cleaning mixture. But should you encounter more stubborn dirt, allow some time for the solution to break it down before scrubbing.
When employing commercial cleaners, it’s crucial to ventilate your bathroom properly so as not to breathe in fumes.
Step 5: Scrub the Walls
Scrub the walls with a sponge or cloth, using gentle, circular motions. Begin at the top and move to the bottom to clean every part. If there are hard-to-remove stains or accumulation, you might require a brush with soft bristles, but be careful not to scratch the surface of your shower wall.
Step 6: Rinse Again
After scrubbing, rinse the walls thoroughly with warm water. Remove all cleaner residue, as these can attract more dirt over time. Your detachable showerhead or a bucket will again come in handy here.
Step 7: Dry the Shower Walls
Take a squeegee and use it to remove the majority of water from the walls. Then, wipe them down using a clean and dry towel until completely dry. This step is crucial for preventing water spots and mildew from growing.
Step 8: Clean Shower Fixtures
Remember the fixtures! You can use the cleaning solution to wipe your showerhead, faucets and handles. These places may have bacteria and buildup, so it is vital for the overall cleanliness of the bathroom that you clean them well, too.
Step 9: Maintain a Cleaning Routine
Frequent, light maintenance can significantly reduce the need to thoroughly clean shower walls. A simple daily wipe using a squeegee and gentle weekly cleaning may keep your shower fresh with less work.
Conclusion
Cleaning shower walls can appear intimidating, but it’s not necessarily so. Following these basic actions will make maintaining your shower’s cleanliness and drawing power simple and quick. Always remember that the secret to having a bathroom that is easily cleaned lies in doing maintenance work often.