HOME IMPROVEMENT
Tips for Homeowners to Master the Art of Deck Staining

Staining your deck is one of the best ways to protect it from the elements while enhancing its appearance. Whether you’re freshening up an old deck or applying the stain for the first time, knowing the right techniques is key to achieving a long-lasting, beautiful finish. Here are essential tips to help you master the art of deck staining and get the most out of your outdoor space.
Pick the Right Weather Conditions
Staining your deck in ideal weather conditions can make all the difference. Avoid staining in direct sunlight, as it can cause the stain to dry too quickly, leading to an uneven finish. Choose a dry, mild day with temperatures between 50°F and 90°F, and avoid staining in direct sunlight, as Platinum Deck and Patio recommends applying the stain in cooler, shaded conditions to ensure an even finish. Also, make sure no rain is expected for at least 24 hours after application, as this can wash away the stain before it fully sets.
Choose the Right Stain for Your Deck
Selecting the right stain is crucial for both appearance and protection. You’ll find a variety of options, including solid, semi-transparent, and transparent stains. Solid stains provide a more uniform color but cover the wood’s grain, while semi-transparent and transparent stains allow the natural wood texture to show through. Consider the look you want and the level of protection your deck needs.
Prepare the Deck Surface
Proper preparation is essential for ensuring the stain adheres well and lasts longer. Start by cleaning the deck thoroughly. Use a deck cleaner or a mixture of water and mild detergent to remove dirt, grime, and old stain remnants. If your deck has mold or mildew, apply a specialized cleaner to address that issue. After cleaning, allow the deck to dry completely. If you’re dealing with a wood deck, sand the surface lightly to ensure smoothness, as this helps the stain absorb better.
Clean the Deck Thoroughly
Before staining, your deck must be free of dirt, debris, and any old stains or sealers. Use a deck cleaner that’s specifically designed for this purpose, or mix a mild detergent solution to scrub away surface grime. For tougher spots, you may need a pressure washer set to a low pressure to avoid damaging the wood. Once cleaned, let the deck dry completely, as applying stain to damp wood will lead to poor adhesion and streaky results.
Address Mold or Mildew
If your deck has been exposed to moisture, mold and mildew might have formed. These fungi can interfere with the staining process and cause the wood to deteriorate over time. Use a mold and mildew remover or a solution of water and bleach to treat the affected areas. After applying the solution, scrub the surfaces with a stiff brush to remove all traces of mold or mildew, then rinse thoroughly and let it dry.
Use the Right Tools
Investing in the proper tools will help you apply the stain evenly and efficiently. A quality brush is essential, especially for detailed work along edges and corners. For large, flat surfaces, a roller with a deck staining pad can speed up the process and ensure an even coat. Some homeowners also prefer a sprayer for faster application, but it requires a steady hand to avoid drips and runs. Whichever tool you choose, make sure to work in small sections for better control and coverage.
Apply Stain Evenly and Generously
When applying the stain, be generous but avoid over-saturating the wood. Start by cutting in the edges with a brush, then move to larger sections. Apply the stain in the direction of the wood grain to ensure a smoother, more natural look. Don’t forget to check for drips as you go. If you see any pooling in certain areas, smooth it out immediately with a brush. It’s better to apply two thin coats rather than one thick coat, as this ensures better coverage and a more even finish.
Allow Adequate Drying Time
Patience is key after staining your deck. Allow each coat to dry completely before applying a second one. Drying times vary depending on the weather and the type of stain used, so refer to the manufacturer’s guidelines. In general, allow at least 4-6 hours for the first coat to dry before applying a second coat. Once the second coat is finished, wait 24 to 48 hours before using your deck to allow the stain to fully cure.

Deck staining is a task that requires attention to detail, but the results are well worth the effort. By choosing the right stain, preparing your deck properly, and applying the stain carefully, you’ll enhance your deck’s appearance and protect it for years to come. Following these tips will help you achieve a professional-looking finish that will make your outdoor space more enjoyable and durable.

HOME IMPROVEMENT
Insulation Beyond Buildings: Exploring Specialized Products for Industrial and Automotive Applications

Insulation is most commonly associated with keeping buildings warm in winter and cool in summer. However, insulation has many critical uses beyond the walls of homes and offices. Specialized insulation products play essential roles in transportation, shipping, energy, manufacturing, and other industrial sectors.
This article will provide an overview of key insulation types used in non-building applications and explain how they meet the demanding performance requirements of sectors like automotive, marine shipping, oil and gas, power generation, and cryogenic storage.
Insulating the Open Road: Automotive Sector Relies on Advanced Materials
Creating an efficient and comfortable driving experience is no easy task – vehicles must maintain safe operating temperatures across a wide variety of grueling conditions, from the cold of winter to the heat of summer and everything in between. Insulation and insulating techniques are critical to achieving this balance.
Insulation helps automakers reduce noise from the engine and road, prevent condensation on cold surfaces, protect passengers from high exhaust temperatures, and stabilize temperatures around sensitive electronics. Materials like fiberglass mats, molded foam parts, multi-layer heat shields, and woven textile wraps are strategically placed throughout the vehicle.
Newer electric vehicles have their own unique insulation needs around battery packs and power control systems. Insulation helps maintain optimum battery temperature to maximize range and prevent overheating. As automotive design and technology continues advancing rapidly in coming years, high performance insulation will remain a key enabler.
Shipping Solutions: Battling Condensation and Extending Shelf Life
Effective insulation is mandatory for refrigerated shipping containers transporting perishable goods like produce, meat, dairy and pharmaceuticals across seas and highways. Preventing condensation build-up and maintaining a stable cold chain environment ensures products arrive safely at their destination.
Shipping containers and trucks designed for refrigeration use foam and foil-based insulation panels featuring water-resistant coatings. Desiccants are also added to actively absorb condensation. Logistics teams carefully monitor the insulation’s performance using hanging temperature probes, wireless sensors on external walls and other smart tracking methods.
Insulated containers also see heavy usage beyond cold chain logistics. Companies commonly use them to ship temperature-sensitive bulk liquids like certain chemicals, waste oils or tank cleaning fluids. Ventilated insulation panels help stabilize the enclosed environment.
Oil Flows Freely: Pipe Insulation Crucial for Energy Sector
Whether carrying crude oil from wellheads or refined products to terminals, insulation is indispensable for maintaining energy pipeline integrity and efficiency. Keeping fluids warm in pipelines prevents freezing, wax or hydrate formation that can completely block flow. Insulation also preserves product quality by minimizing stratification and separation issues.
Common insulation solutions for pipelines include polyurethane foam coverings or customizable jacketing made from weather-resistant fabrics. Hybrid methods are popular as well, combining multiple materials to optimize thermal performance and ruggedness. Proper installation procedures performed by skilled tradesmen are vital for preventing corrosion under insulation.
Pipelines that run above ground or through cold climate regions often use heating systems to maintain temperatures, relying on robust insulation to retain warmth. Heated pipelines require both a protective outer layer resistant to crushing loads as well as an insulation barrier to lock in heat. Load-bearing insulation replaces concrete weights in many above-ground applications.
Turbine Insulation: Withstanding Extreme Forces
The turbine is the powerhouse of most electricity generation plants. Turbine insulation protects operators, improves performance and prevents system failures in challenging operating environments.
Insulation panels around turbines must tolerate vibrational forces, temperature swings ranging from -70°C to over 500°C and possible contact with oils or steam. High-density materials like compacted vermiculite boards and flexible thermal blankets meet these demands. Carefully sealing joints and openings preserves insulation integrity.
Coatings are often applied to turbine insulation to resist heat absorption. Some advanced ceramic coatings even reflect a significant portion of heat. Proper insulation is particularly critical for gas turbines, as maintaining proper operating temperatures enables high fuel efficiency. Routine inspection and maintenance of insulation ensures it performs as designed over decades of operation.
Liquid Air: Cryogenic Storage Requires Specialized Materials
Storing industrial gases at extremely low temperatures – down to -270°C for liquid oxygen – requires insulation technology outside traditional realms. Refrigerated liquid air storage maintains gases in a dense liquid state, conserving space compared to bulky compressed gas cylinders.
Cryogenic insulation must almost fully block external heat transfer while remaining ductile enough to shrink and expand alongside intense temperature fluctuations. Foam, fiberglass and vacuum-insulated panels combine with supplemental insulation layers for achieving high performance. Protective coatings guard insulation against moisture intrusion while preventing atmospheric oxygen and nitrogen liquefaction on cold surfaces.
High-performance insulation allows liquid air vessels to maintain internal environments with negligible heat leakage. This capability enables indefinite storage periods, so gases remain available for medical facilities, manufacturers, aerospace and other end users.
The Future of Insulation: Automation and Aerogels
While traditional insulation materials like wool, foam and mineral fibers still dominate industrial uses, innovations emerge constantly to push thermal efficiency higher. Two promising developments on the horizon are automated insulation processes and next-generation aerogel compounds boasting extreme lightness and low conductivity.
Automating aspects like applying insulation jacketing, scanning for defects, and predicting repair needs through sensors and AI analysis will accelerate maintenance workflows. Aerogels made from silica, carbon nanotubes and other substances underline high costs presently but exhibit major potential for creating lighter insulation solutions. Even NASA relies on aerogel advances to handle extreme cold during space exploration missions.
Final words
This overview of specialized insulation only scratches the surface of this often-overlooked industry changing lives daily through enabling reliable electricity, accessible food supply chains, fuel transportation networks, lifesaving medical gases and comfortable automotive travel. As global energy demands, and engineering capabilities grow more complex, high-performance insulation will remain a hidden necessity across infrastructure sectors. Pushing thermal conductivity lower through both legacy and emerging materials ensures insulation’s essential role for decades to come.
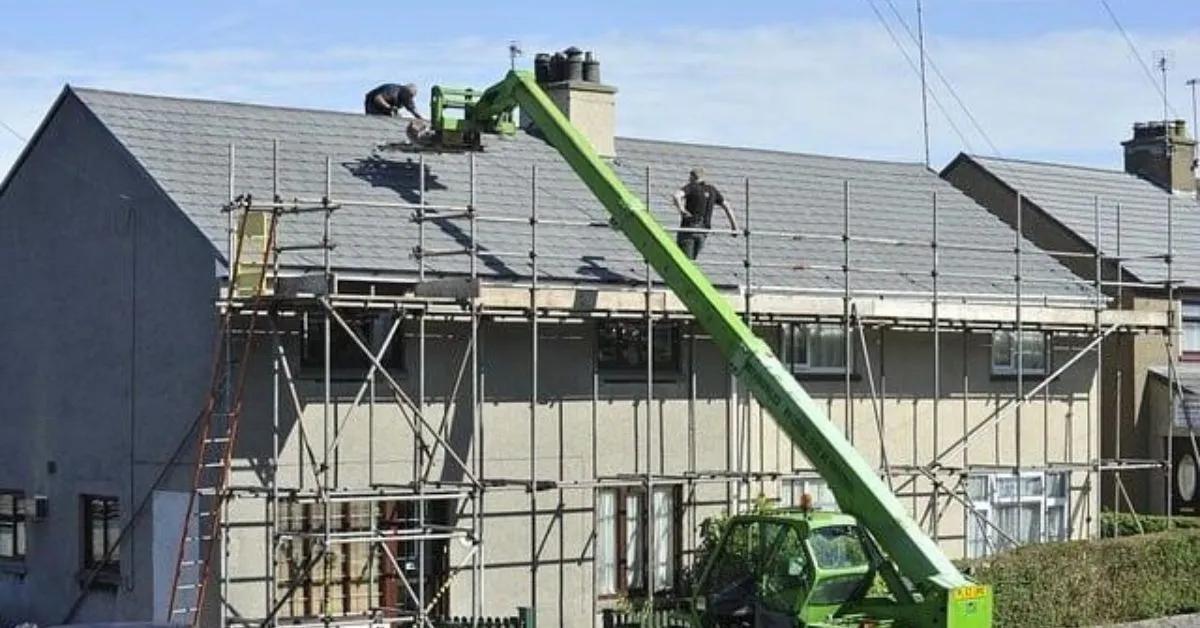
Proper ventilation is crucial in maintaining the health and longevity of your home. While often overlooked, roof ventilation plays a pivotal role in enhancing indoor air quality. It prevents damage and ensures the efficiency of your heating and cooling systems.
In this comprehensive blog post, we’ll unlock the secrets of proper ventilation with insights from professional roofing experts. So, read on!
Importance of Balanced Ventilation
Proper ventilation is the key to maintaining a healthy and comfortable home environment. It allows for the exchange of stale indoor air with fresh outdoor air. This prevents a buildup of harmful contaminants such as:
- mold
- mildew
- pollutants
This is especially important in areas where extreme temperatures or high humidity levels are common. Moreover, a balanced ventilation system ensures energy efficiency. This is achieved by regulating the temperature and moisture levels in your home.
This can result in substantial cost savings on heating and cooling bills. From roof flashing repair to attic insulation, a well-ventilated home can also prevent expensive damage and extend the lifespan of your roof.
Types of Ventilation Systems
There are two main types of roofing ventilation systems – intake and exhaust. Intake vents allow fresh air to enter your home, while exhaust vents release stale air outside. A balanced combination of both is essential for proper ventilation.
Intake vents are typically located along the eaves or soffits of your roof. Exhaust vents can be found at the ridge or gable ends. There are various types of intake and exhaust vents, including:
- soffit vents
- ridge vents
- gable vents
- turbine vents
Everything depends on the design and size of your roof. A combination of these vents may be used to ensure optimal ventilation.
Signs of Poor Ventilation
Poor ventilation can lead to various issues in your home, from mold growth and moisture damage to increased energy costs. Some common signs of poor ventilation include musty odors, condensation on windows, peeling paint or wallpaper, and mold growth in the attic or other areas of the house.
If you notice any of these signs, it’s crucial to address them promptly and consult a professional roofing contractor to assess your ventilation system.
Benefits of Proper Ventilation
Proper ventilation not only maintains a healthy home environment but also offers several other benefits. It can prolong the lifespan of your roof by preventing moisture buildup and damage. Thus, saving you from costly repairs or replacements.
In addition, proper ventilation helps regulate temperature and moisture levels in your attic, which can prevent ice dams from forming on your roof during the winter months. This can also protect your roof from potential leaks and water damage.
Professional Assessment and Installation
When it comes to proper ventilation, it’s best to consult roofing contractors from sites like https://adamsandsonsroofing.com/roof-replacement/. They have the knowledge and expertise to assess your current ventilation system and recommend any necessary improvements.
Professional installation is also crucial in ensuring that your vents are properly placed and sized for optimal ventilation. A trained contractor can also identify any potential issues with your roof that may be contributing to poor ventilation.
Discover Some Insights from Professional Roofing Experts
Proper ventilation is a crucial aspect of maintaining a healthy and efficient home. By learning some insights from professional roofing experts, you can ensure that your home has a balanced and effective ventilation system.
So, don’t neglect the importance of proper ventilation in your home, and consult a professional to ensure that your roof is adequately ventilated.
If you want to read more, visit our blog page. We have more topics!

Are you wondering when to consider hiring siding contractors in Vancouver? Your home’s exterior is its first line of defense against the elements, and siding plays a critical role in protecting and enhancing your property. Knowing when to contact a siding contractor is essential for maintaining your home’s integrity and aesthetics. We will explore various scenarios and indicators that suggest it’s time to contact a professional siding contractor to ensure your home remains in top condition and continues to provide comfort and safety.
Visual Signs of Siding Wear and Damage
One of the most obvious reasons to contact a siding contractor is the presence of visible wear and damage. This can include cracked, warped, or rotted siding panels, which detract from your home’s appearance and compromise its structural integrity. Other signs, such as fading color and mold or mildew growth, indicate that the siding’s ability to protect the home is diminishing. Homeowners should conduct regular visual inspections of their siding and consider contacting a contractor if they notice any of these issues, as early intervention can prevent more extensive and costly repairs.
After Severe Weather Events
Severe weather can severely impact the condition of your home’s siding. It is prudent to check the exterior thoroughly after events such as heavy storms, hail, or high winds. Any storm damage, such as dents, cracks, or torn-off pieces, should be addressed promptly. Contacting a siding contractor for an inspection after such events can help ensure that all damage is professionally assessed and remedied, protecting your home from future weather-related vulnerabilities.
Energy Efficiency Concerns
If you notice a sudden increase in your heating or cooling bills, it could be due to inefficiencies caused by your home’s siding. Older or poorly installed siding can allow air to leak in and out of your home, leading to increased energy use and higher utility bills. A siding contractor can assess if your siding is the cause of these issues and recommend solutions such as repair or replacement with more energy-efficient materials, ultimately helping to reduce your energy costs and improve the comfort of your home.
Preparing for Home Sale
For homeowners considering selling their property, contacting a siding contractor can be a wise move. New siding can significantly enhance curb appeal, potentially increasing the market value of your home and making it more attractive to prospective buyers. A siding upgrade can offer a fresh, appealing look and convey to buyers that the home has been well-maintained, accelerating the sale process and possibly resulting in a higher selling price.
Outdated or Undesirable Siding
Trends in home design can change over the years, and what was once fashionable may now appear dated. If your home’s siding is from a bygone era or doesn’t align with your current aesthetic preferences, it might be time to contact a siding contractor. Updating your siding can transform your home’s appearance and increase your satisfaction with your living space. Furthermore, new materials and technologies might offer better durability and maintenance benefits than what was available when your current siding was installed.
Regular Maintenance Check-Up
Even if your siding isn’t showing obvious signs of damage, regular check-ups by a professional can be crucial for long-term maintenance. A siding contractor can offer expert insights into the condition of your siding and perform preventative maintenance tasks. These check-ups can help extend the life of your siding by addressing minor issues before they become major problems, ensuring continuous protection for your home.
Compliance with Local Building Codes
Local building codes can dictate when to contact a siding contractor is necessary. These regulations often change, and keeping up with current standards is essential for legal compliance and safety. If your home’s siding doesn’t meet these requirements due to age or the materials used, a siding contractor can help you navigate these legal landscapes. Upgrading to compliant materials ensures your home’s safety and legal standing. It can also prevent potential fines or complications if you plan to renovate or sell your home in the future. Regular consultations with a professional can keep you informed and compliant with local building codes.
Determining the right time to contact a siding contractor involves observing your home’s exterior for signs of damage, considering energy efficiency issues, and assessing aesthetic desires. Whether you’re dealing with the aftermath of severe weather, preparing to sell your home, or simply aiming to maintain its condition, professional guidance from a siding contractor can be invaluable. By staying proactive about the condition of your siding, you can maintain your home’s beauty, efficiency, and structural integrity, safeguarding your investment for years to come.


 HOME IMPROVEMENT1 year ago
The Do’s and Don’ts of Renting Rubbish Bins for Your Next Renovation
- BUSINESS1 year ago
Exploring the Benefits of Commercial Printing
- HOME IMPROVEMENT9 months ago
Get Your Grout to Gleam With These Easy-To-Follow Tips

 BUSINESS1 year ago
Brand Visibility with Imprint Now and Custom Poly Mailers
- TECHNOLOGY12 months ago
Dizipal 608: The Tech Revolution Redefined
- HEALTH9 months ago
Your Guide to Shedding Pounds in the Digital Age
- HEALTH10 months ago
The Surprising Benefits of Weight Loss Peptides You Need to Know

 HEALTH1 year ago
Happy Hippo Kratom Reviews: Read Before You Buy!