BEAUTY
How to Choose the Right Eyelash Extension Adhesive
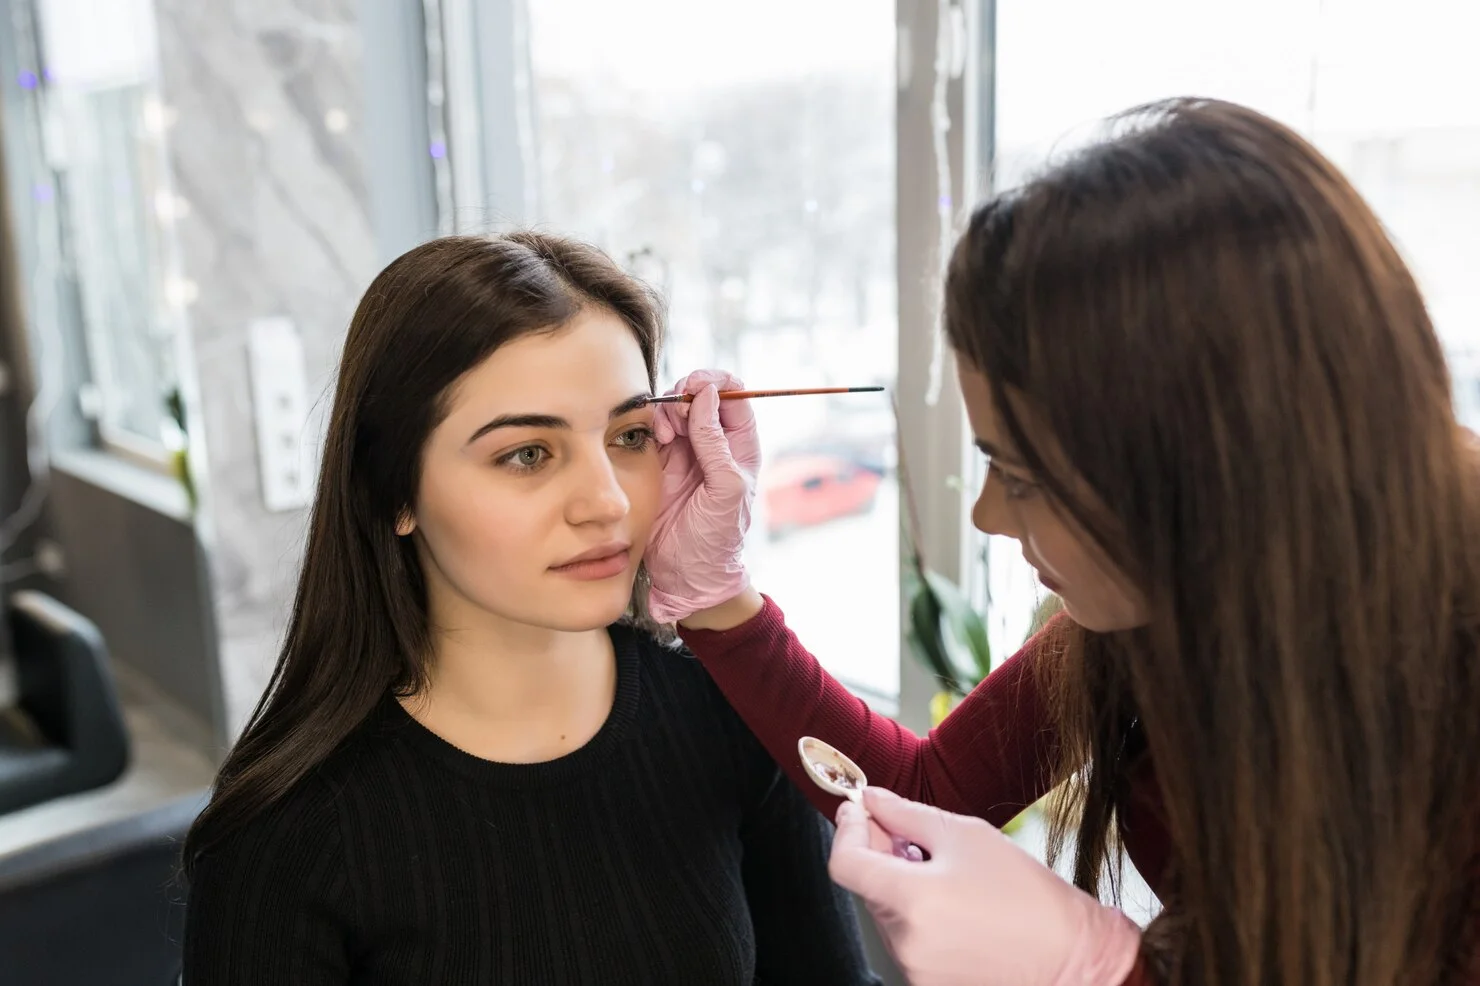
Eyelash extensions have become an essential beauty trend, offering a quick way to achieve long, voluminous lashes without the daily hassle of applying mascara or false lashes. However, the key to a successful and long-lasting eyelash extension application lies not only in the quality of the lashes but also in the adhesive used.
Choosing the right eyelash extension adhesive is crucial for both the longevity of the lashes and the health of the natural lashes. This guide will walk you through the essential factors to consider when selecting the perfect eyelash extension adhesive.
Understanding Eyelash Extension Adhesives
There are several types of eyelash extension adhesives available, each with its own unique properties. Understanding these variations can help you make an informed decision that suits your specific needs.
Drying Time
The drying time of an eyelash extension adhesive is one of the most important factors to consider. The time it takes for the adhesive to dry affects how quickly the extension can be applied and how well it adheres to the natural lash.
- Fast-Drying Adhesives: These are ideal for experienced lash technicians who can work quickly.
- Slow-Drying Adhesives: These are better suited for beginners or those who need more time to adjust the position of the lash extensions.
Retention Time
Retention time refers to how long the eyelash extension adhesive will hold the extension in place before it begins to weaken. A longer retention time means the lashes will stay intact for a more extended period, reducing the need for frequent touch-ups.
- High Retention Adhesives: These adhesives offer long-lasting hold, making them ideal for clients who want their extensions to last several weeks without requiring frequent maintenance.
- Moderate Retention Adhesives: These are suitable for clients who prefer a more natural look and may not mind coming in for touch-ups more regularly.
Viscosity
Viscosity refers to the thickness of the adhesive. The viscosity of the adhesive you choose will depend on the type of lash extensions you are applying and the technique you use.
- Low Viscosity Adhesives: These are thin and flow easily, making them ideal for creating a seamless bond between the natural lash and the extension.
- High Viscosity Adhesives: Thicker adhesives are better suited for volume lashes, where multiple extensions are applied to a single natural lash.
Fume Level
Eyelash businesses extension adhesives can emit fumes that may cause irritation to the eyes and the surrounding skin. Choosing an adhesive with the appropriate fume level is essential for ensuring client comfort and safety.
- Low-Fume Adhesives: These are ideal for clients with sensitive eyes or for use in settings where proper ventilation may be limited.
- Regular-Fume Adhesives: While these adhesives may emit more fumes, they often provide a stronger bond and longer retention time.
CColourEyelash extension adhesives are available in different colours, each serving a specific purpose.
- Clear Adhesives: Clear adhesives dry to a transparent finish, making them ideal for clients with lighter lashes or for creating a more natural look.
- Black Adhesives: Black adhesives dry to a dark finish, blending seamlessly with dark lashes and enhancing the overall look of the extensions.
Factors to Consider When Choosing an Adhesive
Now that you understand the different types of eyelash extension adhesives let’s delve into the factors you should consider when making your choice.
Client’s Sensitivity
One of the first things to consider is your client’s sensitivity to adhesives. Some clients may have sensitive eyes or skin, which can react negatively to certain adhesives. In such cases, opting for a low-fume, hypoallergenic adhesive can help prevent irritation and ensure a comfortable experience.
Climate and Humidity
The environment in which you apply the lashes can significantly affect the performance of the adhesive. Adhesives react differently depending on the level of humidity and temperature.
- High Humidity: In humid environments, adhesives tend to dry faster, which might require using a slower-drying adhesive to allow for more precise application.
- Low Humidity: In dry climates, the adhesive may take longer to dry, so a faster-drying adhesive might be more appropriate to speed up the application process.
Application Technique
Your technique and speed as a lash technician play a crucial role in determining the right adhesive. If you are confident and quick, a fast-drying adhesive will complement your skills. On the other hand, if you are still perfecting your technique, a slower-drying adhesive might be more forgiving and allow you to make adjustments during the application.
Lash Style
The style of lash extensions you are creating will also influence your choice of adhesive. For example, a thick, high-viscosity adhesive works well for volume lashes, while a thin, low-viscosity adhesive is better suited for classic lashes.
Safety and Allergies
Safety should always be your top priority. Make sure the adhesive you choose is made from high-quality, medical-grade ingredients. Additionally, conducting a patch test before the full application can help identify any potential allergic reactions and ensure the adhesive is safe for use on your client.
Best Practices for Using Eyelash Extension Adhesives
To get the most out of your eyelash extension adhesive, follow these best practices:
Proper Storage
Store your adhesive in a cool, dry place away from direct sunlight. Make sure to keep the cap tightly sealed when not in use to prevent exposure to air, which can cause the adhesive to dry out or lose its effectiveness.
Shaking the Bottle
Before each use, shake the adhesive bottle thoroughly to ensure that the ingredients are well-mixed. This helps maintain the adhesive’s consistency and effectiveness throughout the application process.
Use in a Well-Ventilated Area
Always apply eyelash extensions in a well-ventilated area to minimise exposure to fumes. Proper ventilation helps ensure a comfortable experience for both the technician and the client.
Replace Regularly
Eyelash extension adhesives have a limited shelf life, typically ranging from one to three months after opening. Replace your adhesive regularly to ensure optimal performance and avoid using expired products, which may compromise the bond’s strength and longevity.
Conclusion
Choosing the right eyelash extension adhesive is crucial for achieving a flawless, long-lasting lash application. By considering factors such as drying time, retention, viscosity, fume level, and colour, you can select an adhesive that best suits your needs and enhances the overall client experience. Remember, the key to a successful lash application is not just in the adhesive you choose but also in how you use it.


Introduction to Helonia Neue
Helonia Neue is a fascinating subject that captures the imagination of botanists and plant enthusiasts alike. This unique floral genus offers a window into the intricate world of plant evolution and diversity. With vibrant blooms and complex structures, Helonia Neue showcases nature’s artistry in ways that are both beautiful and enlightening. As we delve deeper into its history, morphology, and phylogenetic relationships, we uncover not just facts but also stories about our planet’s botanical heritage. Join us on this journey to explore what makes Helonia Neue a standout in the realm of flora!
History and Evolution of Floral Morphology
The history of floral morphology is a fascinating journey. It begins with the earliest flowering plants, known as angiosperms, which emerged over 140 million years ago. Their complex structures evolved to maximize reproductive success.
As time progressed, various environmental factors shaped flower forms and functions. Pollinators played a crucial role in this evolution, driving adaptations that enhanced attraction through color, shape, and scent.
Different lineages developed unique morphological traits that helped them thrive in specific habitats. The diversity among species showcases how flora can adapt remarkably to their surroundings.
Understanding this evolutionary background helps us appreciate the intricate designs found within flowers today. From vibrant petals to specialized reproductive organs, each detail tells a story of survival and adaptation in an ever-changing world.
This rich tapestry not only highlights nature’s creativity but also sets the stage for ongoing research into plant relationships and classifications like those seen in Helonia Neue.
Phylogenetics: Understanding the Relationship between Plant Species
Phylogenetics delves into the intricate web of relationships among plant species. By examining genetic data, scientists can trace evolutionary lineages and uncover how diverse plants are interconnected.
These connections reveal fascinating insights about shared traits and adaptations. For instance, certain floral structures might evolve in response to similar environmental conditions, even among seemingly unrelated species.
Moreover, phylogenetic studies help clarify the classification of plants. They provide a framework for understanding biodiversity and the evolutionary processes that shape it.
This field often employs advanced techniques such as DNA sequencing. Such innovations enhance our ability to construct accurate phylogenetic trees that depict these relationships visually.
As researchers explore Helonia Neue through this lens, they shine a light on its unique characteristics while situating it within the broader context of plant evolution. This approach enriches our appreciation for the complexity of life on Earth.
Research on Helonia Neue’s Floral Morphology
Research on Helonia Neue’s floral morphology has uncovered fascinating insights into its unique structures. Scientists have observed a range of flower shapes and sizes that diverge from typical plant patterns.
Detailed examinations reveal adaptations that enhance pollination efficiency. These flowers boast intricate arrangements, attracting specific pollinators while often displaying vivid colors. This strategy not only aids reproduction but also contributes to the plant’s survival in diverse ecosystems.
Advanced imaging techniques have allowed researchers to visualize minute structural details. Such methods shed light on how these morphological traits evolve over time.
Additionally, studies explore genetic variations linked to floral characteristics. Understanding these genetic markers could pave the way for further discoveries about other species within the same family.
The ongoing research highlights how much there is yet to learn about Helonia Neue’s complexity and resilience in nature’s web.
Significance of Helonia Neue in the Plant World
Helonia Neue stands out as a beacon of biodiversity within the plant kingdom. Its intricate floral structures showcase nature’s artistry and adaptability.
This species plays a crucial role in its ecosystem, serving as both habitat and food for various pollinators. The relationship between Helonia Neue and these insects underscores the importance of mutualism in maintaining ecological balance.
Moreover, its unique morphology holds potential for scientific advancements. Researchers are keenly studying Helonia Neue to unlock secrets about evolutionary adaptations that might inform conservation strategies.
In horticulture, this plant garners interest due to its aesthetic appeal. Gardeners appreciate not only its beauty but also its resilience in diverse environments.
The significance of Helonia Neue extends beyond mere aesthetics; it represents an essential piece in understanding our planet’s rich tapestry of life.
Future Implications and Possibilities for Helonia Neue
The future of Helonia Neue holds exciting possibilities for both researchers and horticulturists. As we delve deeper into its unique floral structures, new insights into plant evolution may emerge.
The genetic diversity within Helonia Neue could lead to the discovery of novel traits beneficial for agriculture. Breeders might harness these traits to develop crops that are more resilient to climate change.
Furthermore, understanding its morphology can inspire innovative design concepts in sustainable landscaping and urban gardening. The aesthetic appeal combined with ecological benefits makes it a potential favorite among landscape architects.
Advancements in biotechnology could also pave the way for genetically modifying aspects of Helonia Neue, enhancing its adaptability while preserving its natural beauty. This pursuit not only enriches botanical research but also has implications for biodiversity conservation efforts worldwide.
Conclusion
Helonia Neue represents a remarkable intersection of beauty and science. Its intricate floral morphology offers a window into the complexity of evolutionary adaptations in plants. As researchers delve deeper into its phylogenetic relationships, they uncover not only the history of Helonia Neue but also its connections to other species.
The significance of Helonia Neue extends beyond academic interest; it has implications for biodiversity conservation and agricultural advancements as well. Understanding this plant’s unique characteristics can lead to better cultivation practices and enhance our appreciation for nature’s intricacies.
As research progresses, the potential applications of insights gained from studying Helonia Neue are vast. Whether it’s advancing horticulture or informing ecological strategies, this fascinating plant holds promise for future explorations within botany.
With each revelation about helonia neue, we deepen our connection to the natural world around us an exploration that invites curiosity and inspires respect for all living things.

Are you looking for a way to rejuvenate your eyes? Eyelid laser tightening offers a modern solution. It’s an innovative eye lift without surgery.
This procedure promises a youthful look with minimal downtime. Many people are turning to this technology for its benefits. It reduces sagging skin and improves eye appearance.
It’s a non-invasive alternative to traditional surgery. The process is quick, with effects lasting for months.
Interested in how this works and if it’s right for you? Keep reading to discover the benefits of eyelid laser tightening.
Understanding Eyelid Laser Tightening
Eyelid laser is a cosmetic procedure that uses laser technology to target the skin around the eyes. This area often shows signs of aging, such as wrinkles, fine lines, and drooping skin. The laser stimulates collagen production in these areas, resulting in tighter and smoother skin.
This treatment is suitable for upper and lower eyelids. For the upper eyelids, it can reduce hooded lids and excess skin. For the lower eyelids, it can diminish dark circles and puffiness.
The Benefits of Eyelid Laser Tightening
One of the main benefits of this treatment is its non-surgical nature. There are no incisions or cuts involved. It means less risk of scarring and infection, as well as a shorter recovery time.
Another advantage is the precision of the laser. The technology allows for targeted treatment, meaning surrounding areas are not affected. It results in a more natural-looking outcome.
Laser eyelid tightening is a quick procedure. Depending on the individual’s needs, it can take anywhere from 15 minutes to an hour.
Is Eyelid Laser Tightening Right for You?
Eyelid laser is suitable for men and women of various ages. It offers a non-surgical option for enhancing eye appearance. Consulting a qualified professional, such as an eyelid lift surgeon, is crucial before deciding on this treatment.
An eyelid lift surgeon can provide expert guidance, ensuring the procedure aligns with your health and aesthetic goals. Certain conditions, like pregnancy or pre-existing eye issues, may affect suitability.
Your doctor will go over your medical history and discuss potential risks and side effects. It enables you to make an informed decision.
Preparing for Eyelid Laser Tightening
Avoid using any products with retinoids or alpha hydroxy acids for at least two weeks before the treatment. These substances can increase sensitivity to the laser.
Stop smoking and consuming alcohol a few days before the procedure, as they can affect healing and recovery. Make sure you have someone available to drive you home after the treatment, as your eyes may be sensitive and blurry.
The Procedure and Recovery Process
During the procedure, a medical practitioner will use a numbing cream to alleviate discomfort. Then, using handheld laser equipment, they will focus on certain areas surrounding the eyes. Most people report feeling little pain during the procedure.
Following treatment, there may be some redness and swelling in the treated area, but this should resolve within a few days. Follow your doctor’s post-treatment care instructions to ensure optimal recovery.
Learn How to Achieve a Youthful Appearance With Eyelid Laser Tightening
Eyelid laser tightening rejuvenates your eyes with minimal effort. This laser eyelid tightening process is quick and effective. It offers a youthful appearance without invasive surgery.
With eyelid laser tightening, recovery time is short. Results from laser eyelid tightening can last up to two years. Consistent sun protection extends these youthful effects longer.
Regular skin care supports the laser’s rejuvenating outcomes. Laser eyelid tightening is a step towards lasting youthfulness.
Did you find this article helpful? If so, check out the rest of our site for more informative content.

Shopping for diamonds today has become easier and more transparent online thanks to platforms like Rare Carat. Rare Carat offers a vast selection of both mined and lab-created diamonds, making it a one-stop-shop with an excellent educational interface. Whether you are looking for the ideal engagement ring or a unique piece of jewelry; rest assured that your diamond shopping experience will be knowledgeable and gratifying when you use Rare Carats.
Diamond Shopping Transformed
Historically, selecting a diamond meant going to several dealers, having to put up with pushy merchants and sometimes having to choose only from the few items the shop had. Recently, such an experience has changed after online platforms for trading these precious stones like Rare Carat emerged that made buying diamonds easier than ever before.
What Makes Rare Carat Different?
With advanced technology, ethical sourcing and a strong education policy, this is exactly where it begins. Rare Carat has collected diamonds from several trusted dealers therefore marketing natural and synthetic grown diamonds in their complete inventory.
The difference between natural and lab diamonds is important to consider in making an informed purchase. Natural diamonds, which form in the earth’s interior over millions of years under extreme conditions of temperature and pressure. On the other hand, synthetic diamonds are produced in controlled laboratories with modern technology that simulates the process by which these gems are naturally made.
Chemically and physically, lab-grown diamonds are no different from their natural counterparts. The only distinguishing feature is their origin. As a result, laboratory-grown diamonds tend to be priced 20-40% less than mined ones thus being more affordable. Moreover, they have environmental advantages as they do not involve mining with associated ethical issues.
The Advantages of Rare Carat – Lab Grown Diamonds from Rare Carat
One thing that stands out with Rare Carat’s selection of lab-grown diamonds is their diversity. Well, here are some reasons why you should consider purchasing lab-grown diamonds from Rare Carat:
1. Ethical Sourcing: Lab-grown diamonds counteract the hazards brought by unethical mining practices. If you opt for lab-grown diamonds, you encourage sustainable development and ensure that your purchase doesn’t contribute to environmental pollution or human rights abuses.
2. Affordability: One can spend less buying a lab grown diamond than on a natural one. This means that it will be possible to buy a larger or better quality diamond within your budget.
3. Quality and Variety: Every diamond has detailed descriptions and high resolution images provided by Rare Carat and you’ll have all the necessary information to make a choice. For customer convenience, they have come up with advanced search filters which can help one select a diamond based on carat, cut, color, clarity among others.
4. Educational Resources: Rare Carat excels in educating its customers. The platform offers comprehensive guides and tools like the Rare Carats Report, which compares diamond prices, and provides insights into their quality and value. This transparency ensures that you know exactly what you are buying.
How to Purchase a Diamond from Rare Carat
It is very easy and convenient to purchase diamonds from rare carat. Here is a step by step process of buying diamonds from rare carat.
1. Research and Filter: Use the advanced search tools of Rare Carats to narrow down your options. Some of the filters that can be used include; the type of stone i.e. either natural or lab-grown, Colour, Clarity, Cut and weight in carats among others.
2. Comparison and Selection: You will have a number of potential diamonds on paper that you can compare head-to-head. This allows for better judgement upon making the right choice since it helps you determine how they are priced differently due to quality discrepancies as provided by Rare Carat’s comparison tool.
3. Detailed Reports: A report for each diamond contains high-resolution images, grading certificates, and the Rare Carats Report revealing its price comparison and value assessment allowing you to get some confidence about your purchase.
4. Confident Shopping: After selecting your diamond, Rare Carat connects you with the best-priced retailer. Through this platform, transactions are safe while customer support is available in case one has any question or concern during buying therefore providing peace of mind throughout the process of purchasing it.
Conclusion
However, Rare Carat has gained a name for itself as a reliable e-commerce site specializing in diamonds. The platform offers a lot of both natural and lab-grown diamonds that it is difficult to comprehend. Transparency, ethical sourcing, and customer education are principles held by this platform thus making it ideal for any person looking to buy a diamond. On the other hand, rare carat does not just support sustainable and ethical practices in the diamond industry but also caters to budget-conscious consumers through offering high-quality lab-grown diamonds. Be it an engagement ring or any special jewelry; Rare Carat is dependable, informative and user-friendly.
Ultimately, Rare Carat offers something special and valuable to today’s diamond customers. With its wide range of selection, educational resources provided as well as the focus on ethical practices; Rare Carat makes purchasing diamonds online an enriching process that one can go through without problems whatsoever. When you settle for either natural or lab grown diamond alternatives from rare carat, trust them to take you step by step on the journey so that you land on the right diamond that suits what you need and value most in your life.


 HOME IMPROVEMENT1 year ago
The Do’s and Don’ts of Renting Rubbish Bins for Your Next Renovation
- BUSINESS1 year ago
Exploring the Benefits of Commercial Printing
- HOME IMPROVEMENT10 months ago
Get Your Grout to Gleam With These Easy-To-Follow Tips

 HEALTH11 months ago
The Surprising Benefits of Weight Loss Peptides You Need to Know
- TECHNOLOGY1 year ago
Dizipal 608: The Tech Revolution Redefined
- BUSINESS1 year ago
Brand Visibility with Imprint Now and Custom Poly Mailers
- HEALTH10 months ago
Your Guide to Shedding Pounds in the Digital Age
- LAW2 years ago
7 Key Questions to Ask When Hiring a Criminal Lawyer