BEAUTY
The Ultimate Guide to Using Oils for Acne Treatment
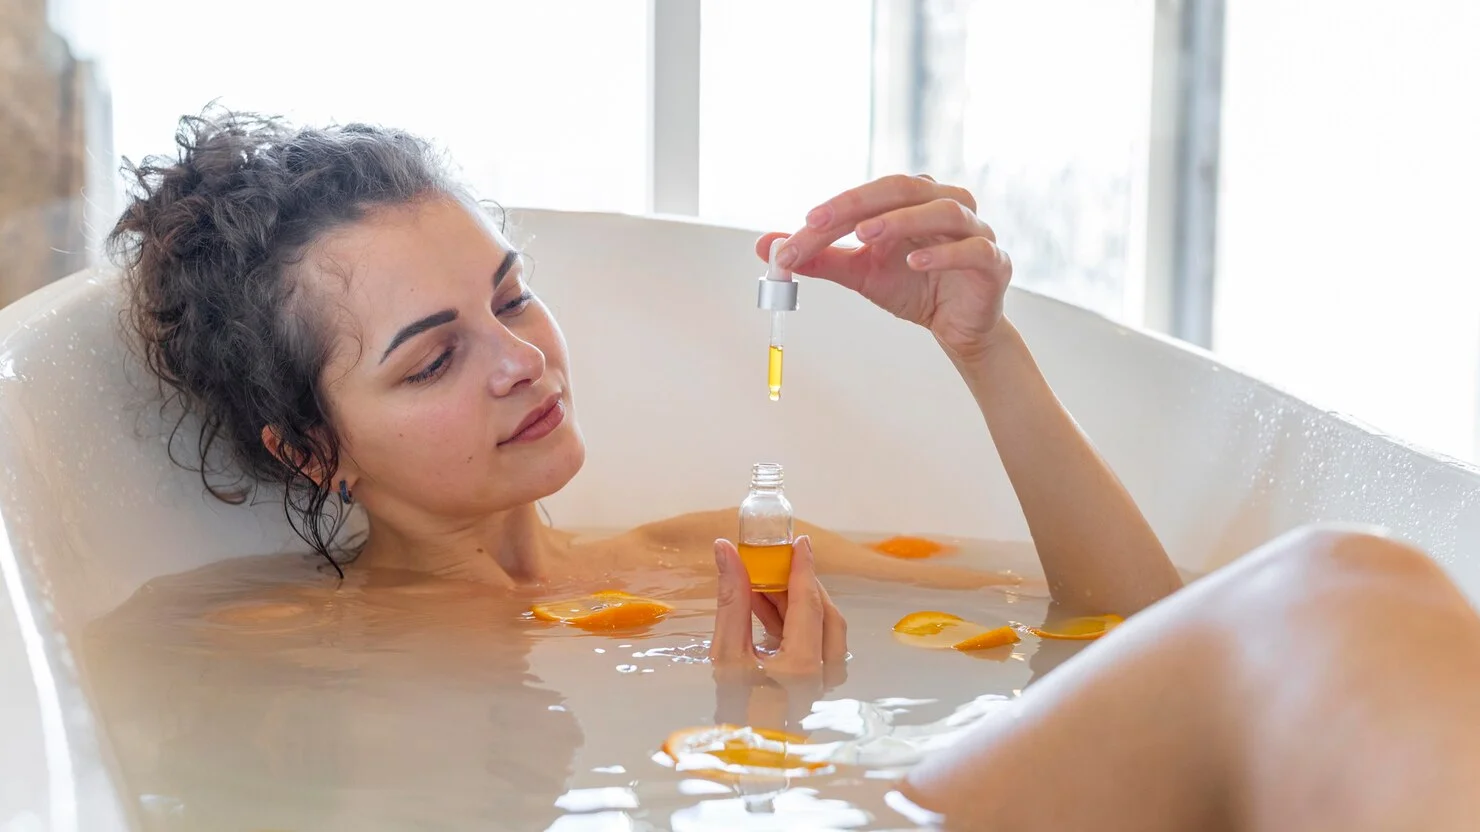
Acne is a common skin condition that affects many people, often causing frustration and a lack of confidence. While numerous treatments are available, oils, particularly natural ones, can offer effective solutions for managing acne. This guide will explore various oils that can help treat acne, with a focus on tea tree oil, bio oil, and other essential oils.
Understanding Acne
Before discussing how oils can help treat acne, it’s essential to understand what acne is. Acne occurs when hair follicles become clogged with oil, dead skin cells, and bacteria. This can lead to whiteheads, blackheads, and pimples. Factors contributing to acne include hormonal changes, diet, stress, and skincare products.
Oils can provide several benefits for acne-prone skin. They can help regulate oil production, reduce inflammation, and offer antibacterial properties. Natural oils for acne treatment often contain nutrients and compounds that promote skin healing and improve overall skin texture.
Tea Tree Oil for Acne
Tea tree oil is derived from the leaves of the Melaleuca alternifolia plant, native to Australia. This oil is known for its antimicrobial and anti-inflammatory properties, making it a popular choice for treating acne.
How to Use Tea Tree Oil for Acne
- Dilution: Tea tree oil is potent and should be diluted with a carrier oil, such as coconut oil or jojoba oil, before applying it to the skin. A typical dilution ratio is one part tea tree oil to nine parts carrier oil.
- Spot Treatment: After diluting, use a cotton swab to apply the mixture directly to the affected areas. This method helps target specific blemishes without affecting the surrounding skin.
- Face Mask: You can also create a face mask by mixing tea tree oil with clay or honey. Apply the mask to your face and leave it on for about 10-15 minutes before rinsing off.
Benefits of Tea Tree Oil for Acne
- Reduces Inflammation: Tea tree oil can help calm inflamed skin and reduce redness associated with acne.
- Antibacterial Properties: It can fight acne-causing bacteria, helping to prevent future breakouts.
- Oil Control: Regular use of tea tree oil can help balance oil production in the skin.
Tea Tree Oil Acne Precautions
- Patch Test: Before using tea tree oil, it’s wise to conduct a patch test. Apply a small amount of diluted oil to a discrete area of your skin to check for any adverse reactions.
- Avoid Sensitive Areas: Be cautious when applying tea tree oil near sensitive areas, such as the eyes or broken skin.
Bio Oil for Acne
Bio oil is a skincare product formulated with a blend of oils and vitamins, primarily used to improve the appearance of scars and stretch marks. While it is not specifically marketed for acne, it can benefit acne-prone skin when used correctly.
How to Use Bio Oil for Acne
- Daily Moisturizer: You can apply bio oil as a daily moisturizer for your entire face or just the affected areas. This helps keep the skin hydrated and may improve its texture.
- Mix with Other Treatments: Bio oil can be combined with other acne treatments, such as topical creams or gels. This combination can enhance the effectiveness of both products.
Benefits of Bio Oil for Acne
- Hydration: Keeping the skin moisturized can help prevent excess oil production, which often leads to breakouts.
- Scar Improvement: If you have post-acne scars, bio oil may help reduce their appearance over time.
- Soothing Properties: The ingredients in bio oil can help soothe irritated skin and promote healing.
Bio Oil Acne Precautions
- Oily Skin Caution: If you have very oily skin, it’s best to use bio oil sparingly, as it may clog pores for some individuals.
- Patch Test: As with tea tree oil, perform a patch test to ensure your skin reacts well to bio oil.
Essential Oils for Acne
Several other essential oils can be beneficial for treating acne, including:
- Lavender Oil: Known for its calming properties, lavender oil can reduce inflammation and promote healing.
- Rosemary Oil: This oil has antibacterial properties and can help unclog pores.
- Peppermint Oil: It can provide a cooling effect and help reduce redness and inflammation.
How to Use Essential Oils for Acne
- Dilution: Just like tea tree oil, essential oils should always be diluted with a carrier oil before applying to the skin.
- Facial Steams: Add a few drops of your chosen essential oil to a bowl of hot water. Lean over the bowl with a towel over your head to trap steam, allowing your skin to absorb the benefits.
- Mix with Your Moisturizer: You can also add a drop of essential oil to your moisturizer or serum to boost its acne-fighting properties.
Benefits of Essential Oils for Acne
- Natural Antibacterial Properties: Many essential oils can help eliminate bacteria that cause acne.
- Promotes Healing: Essential oils can support skin healing and reduce the appearance of scars.
- Reduces Oil Production: Certain oils can help balance oil production in the skin.
Essential Oils for Acne Precautions
- Always Dilute: Essential oils are highly concentrated and should always be diluted to avoid irritation.
- Be Aware of Allergies: Some individuals may have allergies to specific essential oils. Always perform a patch test before using.
Creating Your Acne Treatment Routine
Start your routine with a gentle cleanser to remove dirt, oil, and makeup. Look for a product that won’t strip your skin of its natural oils. After cleansing, apply your chosen oil (tea tree oil, bio oil, or an essential oil) to the affected areas. Remember to dilute as needed.
Follow up with a lightweight, non-comedogenic moisturizer to keep your skin hydrated. This helps maintain a healthy skin barrier and prevents excessive oil production. If you’re using oils that can make your skin more sensitive to the sun (like tea tree oil), be sure to apply sunscreen during the day to protect your skin.
Using oils for acne treatment can be an effective approach for many people. With options like tea tree oil for acne, bio oil for scarring, and various essential oils, there are several ways to support your skin’s health. Each oil has unique properties that can help reduce inflammation, control oil production, and promote healing.
While oils can be a valuable addition to your acne treatment routine, it’s essential to listen to your skin. What works for one person may not work for another. Always start with a patch test and consult with a dermatologist if you have persistent or severe acne. By taking the time to find the right products and treatments, you can manage acne effectively and improve your skin’s overall health.


Peel pads are one of the most efficient skin care products today. They are most commonly recommended by doctors and skincare professionals. They gently cleanse and renew skin, providing a smoother, more glowing complexion.
This skincare product is a miracle that delivers great results. Peel pads are a must-have to resurface and retexturize your skin tone. INSTYTUTUM offers high-quality facial peel pads with ingredients whose efficacy is clinically proven. There are a vast number of benefits to this potent, non-irritating acid cocktail:
- reduced wrinkles
- moisturized and hydrated skin
- less visible spots and hyperpigmentation
- boosted collagen production
- stimulates the production of collagen
INSTYTUTUM’S Peeling Flawless Pads are popular among celebrities, and dermatologists recommend adding them to your skincare routine.
What are the benefits of peeling flawless pads?
INSTYTUTUM’S powerful and easy-to-use pre-soaked pads are produced with glycolic, lactic, citric, hyaluronic, and salicylic acids that visibly reduce pore size, fine lines, and wrinkles. This skincare product also helps to improve skin tone, texture, and luminosity.
Flawless pads contain Purslane extract that functions as a strong soother, itch reliever, and antioxidant. All these ingredients influence collagen production and cell turnover, remove hyperpigmentation, and boost the moisturization effect.
Apply the pad to clean, dry skin on the face and neck. Experts recommend using it 3 times a week if you are new to this type of skincare and then increasing it to twice daily to achieve smooth, firm, and renewed skin. Don’t forget to apply sunscreen after using the peeling pads if you plan to go outside.
What can Peeling Flawless Pads be combined with?
Experts recommend combining the product with Brightening C-Illuminating 3D Moisturizer for an amazing effect. It provides an immediate radiant glow and supple, healthy, and intensely hydrated skin. INSTYTUTUM’S moisturizer includes the following ingredients:
- vitamin C brightens, reduces hyperpigmentation, stimulates collagen, and increases elasticity
- multi-molecular HA complex provides multi-depth hydration
- high-molecular-weight HA rapidly penetrates and creates a protective film on the skin surface, reduces water loss from the inside, provides 24-hour moisturization, repairs and restores from the inside, and provides anti-pollution/anti-UV benefits
- tri-peptide-1 promotes skin renewal and makes wrinkles less visible
- probiotics stabilize and create a healthy skin barrier
- pomegranate extract generates anti-aging and moisturizing effects
Other ingredients such as shea butter, almond and jojoba oil, allantoin, vitamin E, and B5, help to keep your skin smooth, calm, and soft and provide anti-inflammatory, repairing, and moisturizing effects.
INSTYTUTUM experts recommend applying the skincare product to a properly cleansed face to achieve an instantly radiant complexion or as a makeup base for extra glow.
Conclusion
INSTYTUTUM Flawless Peeling Pads are full of natural and powerful ingredients. The main components are acids that improve your skin complexion at once.
Natalia Derkach mentioned that the goal of the INSTYTUTUM brand is to show everyone how to get the best skin and achieve real results in their skincare routine. That is why the brand has a full line of professional skincare products that are used by celebrities and recommended by top dermatologists worldwide.
Visit the INSTYTUTUM official website for more information about a high-efficacy skincare routine to make your skin healthy and radiant.
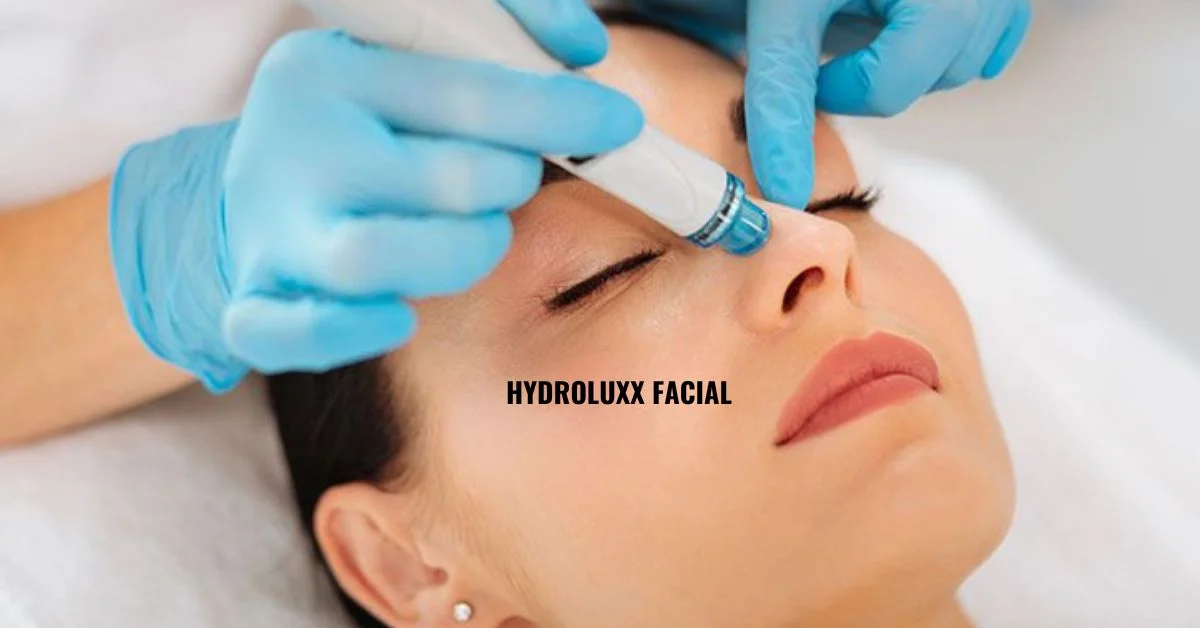
In the realm of skincare, where innovation reigns supreme, the Hydroluxx facial has emerged as a luxurious and effective treatment for achieving radiant and rejuvenated skin. This multi-step procedure combines the benefits of hydradermabrasion, exfoliation, extraction, and infusion to cleanse, hydrate, and nourish the complexion. Let’s delve into what the Hydroluxx facial entails, how it’s performed, the different types available, and the remarkable effects it can have on the skin.
Understanding the Hydroluxx Facial
The Hydroluxx facial is a comprehensive skincare treatment that targets various skin concerns, including dullness, uneven texture, fine lines, and congestion. It is designed to deeply cleanse the skin, remove impurities, and infuse potent serums tailored to the individual’s skincare needs. This advanced facial treatment combines multiple techniques to rejuvenate and revitalize the complexion, leaving it looking brighter, smoother, and more youthful.
How is it Carried Out?
The Hydroluxx facial typically begins with a thorough cleansing of the skin to remove any makeup, dirt, and impurities. The next step involves hydradermabrasion, a gentle exfoliation process that uses a specialized device to deliver a controlled stream of water and exfoliating serums to the skin’s surface. This helps to remove dead skin cells, unclog pores, and improve skin texture.
Following hydradermabrasion, targeted serums tailored to the individual’s skincare needs are infused into the skin using the same device. These serums may contain ingredients such as hyaluronic acid, vitamins, antioxidants, and peptides, which penetrate deep into the skin to hydrate, plump, and nourish the complexion.
In addition to exfoliation and infusion, the Hydroluxx facial may also include gentle suction to extract impurities from the pores, leaving the skin clean and clear. The treatment concludes with the application of a soothing mask, followed by moisturizer and sunscreen to protect the skin.
Types of Hydroluxx Facial Treatments
While the basic steps of the Hydroluxx facial remain consistent, variations may exist depending on the skincare clinic and the specific needs of the individual. Some clinics may offer add-on treatments such as LED light therapy, oxygen infusion, or lymphatic drainage massage to further enhance the results of the Hydroluxx facials.
The Effects of Hydroluxx Facial on the Skin
The Hydroluxx facial offers a multitude of benefits for the skin:
- Deep Cleansing: The hydradermabrasion process effectively removes impurities, excess oil, and dead skin cells, leaving the skin clean and refreshed.
- Hydration: Infusion of customized serums delivers potent hydrating ingredients deep into the skin, helping to replenish moisture levels and restore a healthy glow.
- Exfoliation: Gentle exfoliation helps to improve skin texture, tone, and clarity by promoting cell turnover and removing surface debris.
- Nourishment: Targeted serums rich in vitamins, antioxidants, and peptides nourish the skin, promoting collagen production, and addressing specific skincare concerns such as fine lines and wrinkles.
- Improved Radiance: By cleansing, hydrating, and nourishing the skin, the Hydroluxx facials helps to restore radiance and vitality to the complexion, leaving it looking brighter, smoother, and more youthful.
In conclusion, the Hydroluxx facial offers a luxurious and effective solution for achieving radiant and rejuvenated skin. Whether you’re looking to address dullness, dehydration, or signs of aging, this advanced skincare treatment can help you achieve your skincare goals. With its combination of hydradermabrasion, infusion therapy, and targeted serums, the Hydroluxx facial elevates the standard facial experience, providing a pampering and results-driven approach to skincare.
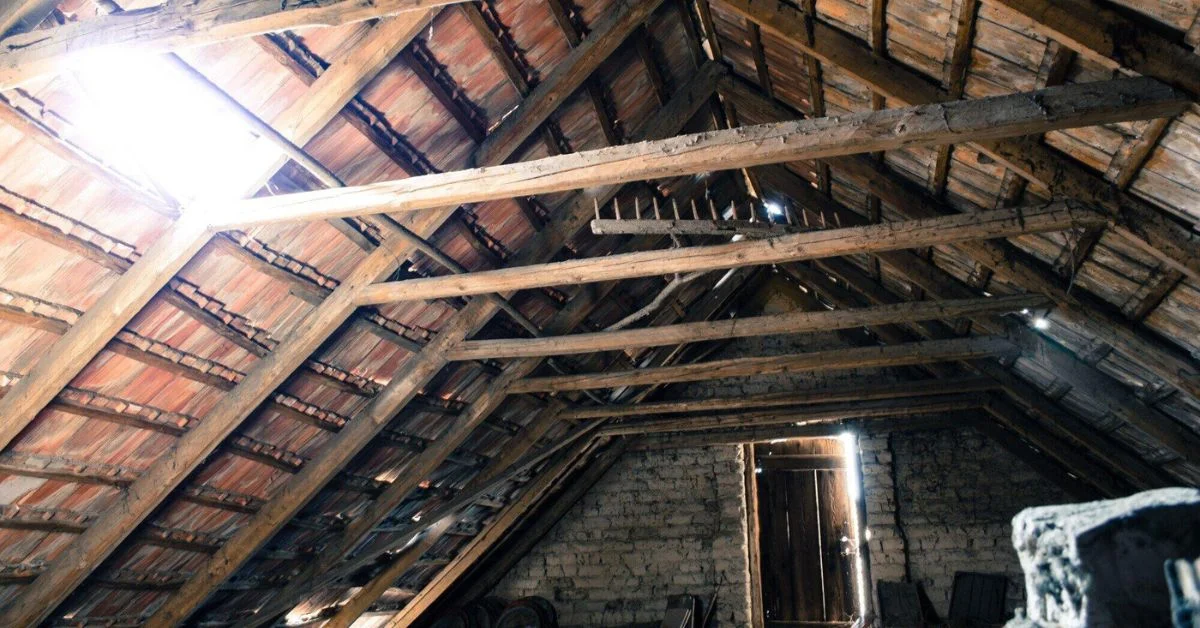
Are you dealing with mold in your attic? Mold can be a pesky invader, but fear not! We’ve got some expert tips to help you tackle that unwanted attic guest safely and effectively.
Whether you’re a DIY enthusiast or just looking to understand the process of mold in attic removal better, keep reading for the low-down on getting rid of attic mold without breaking a sweat.
Ensure Personal Safety
Before initiating the mold removal process in your attic, it is paramount to prioritize your safety. Wear protective gear, including N95 respirator masks, gloves, and eye protection, to shield yourself from mold spores that can become airborne during the cleaning process.
Ensuring a well-ventilated area is also crucial to minimize your exposure to these spores. If you have respiratory issues or immune system disorders, consider consulting professional mold removal services before undertaking mold removal tasks.
Assess the Extent of Mold Infestation
To accurately gauge the severity of fungal proliferation within the attic space, a meticulous evaluation is mandatory. Such an assessment shall include a thorough inspection of every accessible nook and cranny within said area to discern the total expanse impacted by mold.
Should this preliminary examination reveal a mold infestation extending beyond a superficial area, the engagement of specialists, notably from Certified Mold Removal of Chester County, is advised.
These professionals are equipped with advanced diagnostic tools and methodologies to perform an exhaustive analysis, determining the full scope of the infestation and the precise species of mold present. This step is imperative for formulating an effective remediation strategy.
Address the Source of Moisture
Eliminating the mold in your attic means you need to find out where the water or moisture is coming from. Wet spots are not good because they help mold grow. Check your roof for leaks and look at pipes or windows in the attic.
If things are wet, they need to be dried or fixed, so mold doesn’t come back. Keeping your attic dry is a big step in stopping mold from growing again.
Isolate the Area
To keep mold spores from visiting other parts of your house, you need to put up a “no trespassing” sign for them. This means making sure the attic is all by itself while you work on it.
How? Close doors, cover stuff with plastic sheets and maybe use tape to keep those sheets from dancing away. This helps stop the mold from moving into other spots, making your job a lot easier and your house a lot safer.
Remove Contaminated Materials
When you find things in your attic that mold has gotten onto, you need to take those things out. Stuff like old boxes, papers, or clothes can hold mold. If something is wet and dirty from the mold, it’s best to throw it away.
Put these moldy things in a strong plastic bag to keep the mold from spreading. Some things you might be able to clean, but if you’re not sure, it’s safer to get rid of it. This helps clear out the bad stuff so your attic can be clean and mold-free again.
Learn All About Mold in Attic Removal
After you’ve gone through all the steps of mold in attic removal – making sure you’re safe, seeing how much mold there is, stopping water from getting in, keeping mold in one place, and throwing away all the moldy stuff – your attic should be all clear of mold. Just remember, if mold shows up again, you might need to check everything over once more to keep your home nice and healthy.


 HOME IMPROVEMENT1 year ago
The Do’s and Don’ts of Renting Rubbish Bins for Your Next Renovation
- BUSINESS1 year ago
Exploring the Benefits of Commercial Printing

 BUSINESS1 year ago
Brand Visibility with Imprint Now and Custom Poly Mailers
- HEALTH9 months ago
The Surprising Benefits of Weight Loss Peptides You Need to Know
- HEALTH9 months ago
Your Guide to Shedding Pounds in the Digital Age
- TECHNOLOGY11 months ago
Dizipal 608: The Tech Revolution Redefined
- HOME IMPROVEMENT9 months ago
Get Your Grout to Gleam With These Easy-To-Follow Tips

 HEALTH12 months ago
Happy Hippo Kratom Reviews: Read Before You Buy!