HOME IMPROVEMENT
Revive Your Old Furniture: A Quick and Easy Guide to Using a Drawer Repair Kit
Having furniture with broken drawers can be a real pain, not to mention an eyesore. Whether it’s an antique piece or just a beloved old chest of drawers, giving these items a second lease on life is a satisfying and rewarding endeavor.
If you’re a novice in the world of furniture restoration, fret not. A drawer repair kit might just be the magic wand you need to wave over your dilapidated drawers!
Want to learn more about how to use one? Read on!
What Is a Drawer Repair Kit?
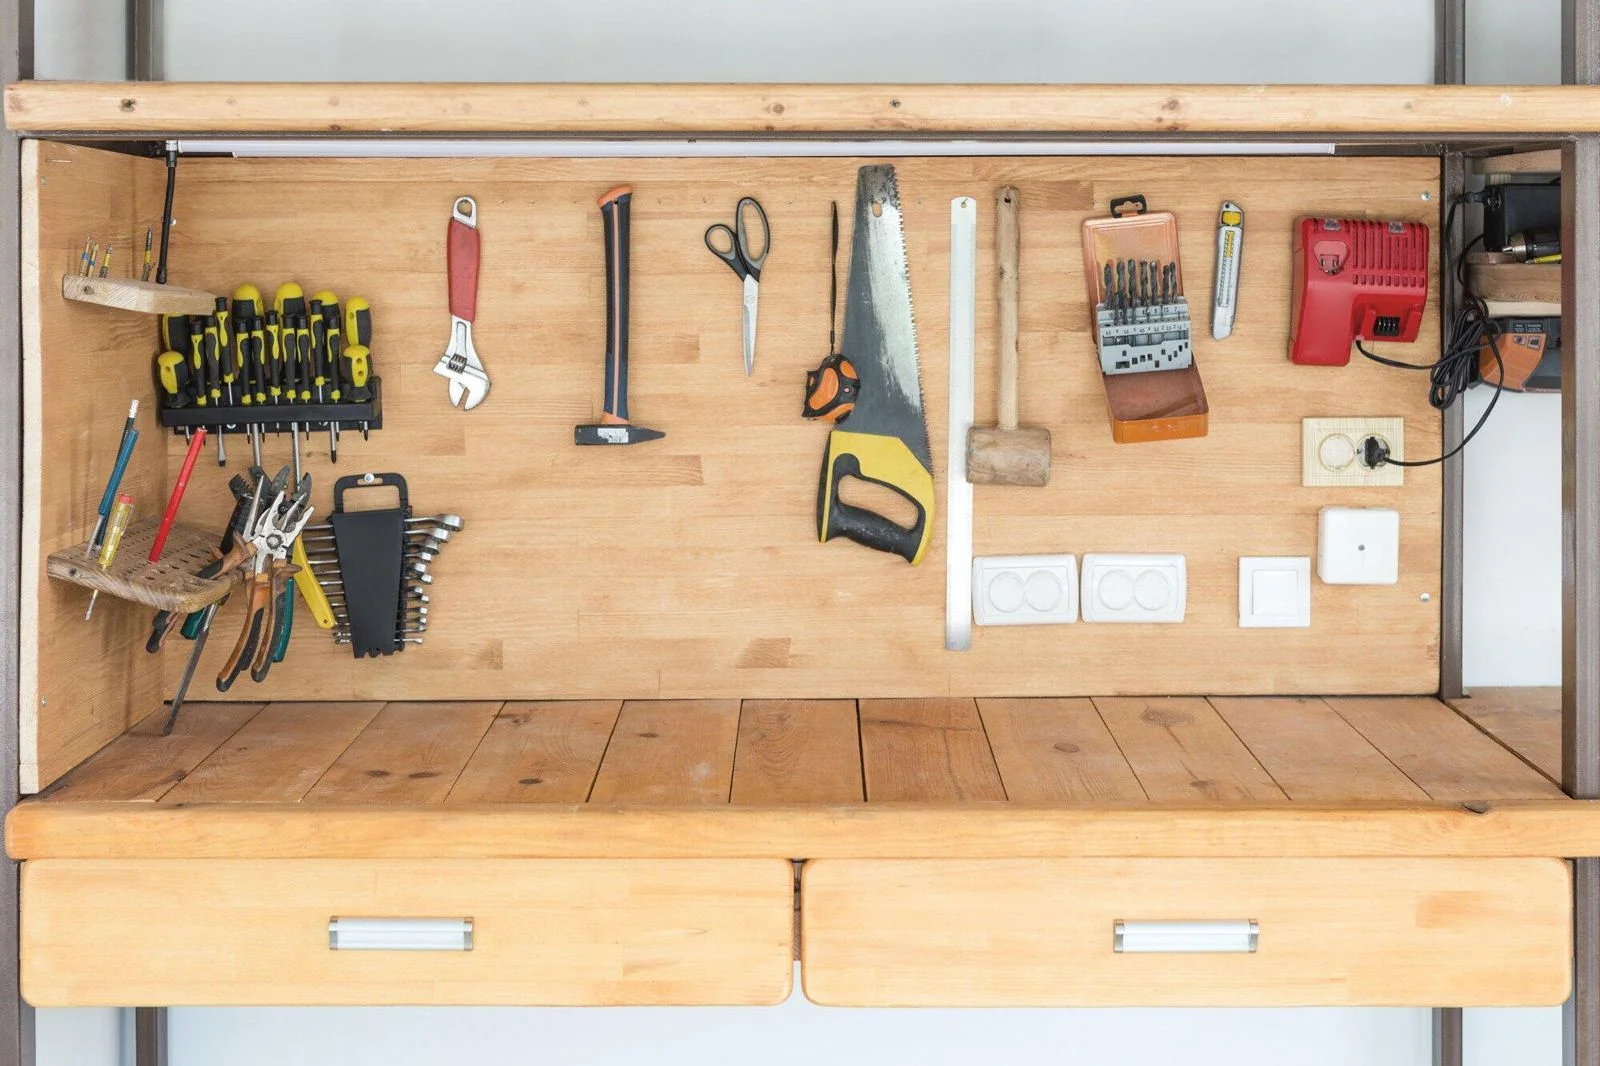
A drawer repair kit is essentially a collection of tools and supplies designed to fix common issues that plague drawers, such as loose joints, sticking slides, or broken handles.
The beauty of these kits is that they come with all the necessary components in one package. This makes them incredibly convenient for tackling various repairs.
Whether you’re dealing with a simple issue like a loose screw or a more complex problem, a drawer repair kit can be your go-to solution. These kits are ideal for getting those drawers operating smoothly again. They make repairs straightforward and efficient.
What’s Inside a Drawer Repair Kit?
Typically, a drawer repair kit includes a variety of items to handle different issues. This will help users have everything ready when needed while repairing drawers.
Drawer Parts and Alignment Tools
One of the most valuable parts of a drawer repair kit is the set of drawer slides, stoppers, pulls, and knobs for replacement. These are crucial for when the drawer no longer opens or closes smoothly. In addition, the kit often contains alignment tools, which help ensure that the drawer fits perfectly without any gaps or misalignments.
Screws and Fasteners
No repair kit is complete without a variety of screws and fasteners. These small yet critical components are often the first to go missing or get damaged. Having a selection ensures that you can find the exact match for your drawer’s original hardware, making your repair job seamless and robust.
Wood Filler and Putty
For drawers that have suffered from chips, dents, or even cracks, wood filler and putty can be a lifesaver. These materials allow you to fill in any imperfections and sand them down for a smooth, ready-to-paint surface. It’s an easy way to make your drawer look as good as new.
Glue and Adhesives
Drawer repair kits also come equipped with various types of glue and adhesives to tackle different scenarios. From waterproof wood glue for reattaching broken pieces to adhesive strips for securing loose joints, these products are essential for a sturdy and lasting repair.
Instruction Manual
Perhaps the most overlooked yet essential component is the instruction manual. This handy guide offers step-by-step instructions on how to utilize each tool and hardware piece effectively. Especially for beginners, this manual is a treasure trove of tips and tricks for successful drawer restoration.
Techniques When Using a Drawer Repair Kit
Before you begin your drawer repair project, it’s crucial to understand and follow certain techniques to ensure a seamless repair process.
Assess
First, assess the damage carefully and decide whether it’s something within your ability to fix. If it is, make sure to clean the drawer thoroughly before starting any repair. This removes any dust, dirt, or grime that could interfere with the repair process.
Prepare
Next, if you’re dealing with wooden drawers, consider lightly sanding the area around the damage. This prepares the surface for better adherence, whether you’re applying wood filler, putty, or planning to paint. Always wait for any applied materials to dry completely before proceeding to the next step, such as sanding down filler or applying a fresh coat of paint.
Replace the Broken Parts
When replacing hardware like drawer slides or fasteners, use the alignment tools included in your kit to ensure an accurate fit. This might require a bit of patience and precision but getting it right is key to a smooth-running drawer.
Let Everything Set
Don’t rush the process. Quality repairs take time, and it’s better to take an extra hour or day to finish the repair than to hurry and end up with less than satisfactory results. Remember, the goal is not only to fix the drawer but to restore it to a state that’s as good as, or better than, before it was damaged.
Tips and Tricks for Successful Restoration
Here are some additional tips and tricks that can help ensure your furniture restoration project is a success:
Practice Patience and Precision
Furniture restoration, especially when it involves detailed work like fixing drawers, requires a steady hand and a patient mindset. Rushing through the process can lead to mistakes that might worsen the damage or result in a less-than-ideal finish. Take your time, follow the steps carefully, and focus on precision.
Use Quality Paints and Finishes
If your repair project includes repainting or refinishing the drawer, invest in high-quality paints and finishes. This can make a significant difference in the durability and appearance of the final product. High-quality finishes will not only look better but will also provide better protection to the wood.
Don’t Ignore the Details
Small details can make a big difference in the overall appearance and functionality when refurbishing furniture. Pay attention to the alignment of the hardware, the smoothness of the surface, and the tightness of the screws. These details might seem minor, but they contribute greatly to the drawer’s performance and aesthetic appeal.
Seek Professional Advice if Needed
If you encounter a problem that seems too complicated or beyond your skill level, don’t hesitate to seek advice from a professional. Sometimes, a piece of expert advice can save you from making a costly mistake or help you approach the repair in a more effective way.
Remember, restoring furniture is not just about fixing what’s broken. It’s about reviving an item’s beauty and functionality. With the right tools, techniques, and a bit of patience, you can bring new life to old, damaged drawers, turning them into something to be proud of.
Drawer Repair Kit to the Rescue!
Reviving old furniture can be a fun and gratifying project, and a drawer repair kit can be the perfect ally in your refurbishing endeavors. With its comprehensive set of tools and hardware, along with instructions on how to use them correctly, you can tackle a variety of drawer-related issues with ease.
With proper care and some simple tools, you can bring your drawers back to life and showcase your commitment to sustainable living. Happy repairing!
Did you like this guide? Great! Browse our website for more home improvement tips!


Used spray rigs can be an excellent investment for businesses looking to expand their capabilities in insulation, roofing, or specialty coatings without the hefty price tag of new equipment. We will explore everything from the benefits of opting for used equipment to the critical considerations one must make to ensure a wise purchase.
The Appeal of Used Spray Rigs
Opting for used spray rigs offers several attractive benefits. The most obvious is cost savings. Used rigs can be significantly cheaper than their new counterparts, making them an appealing option for startups or businesses looking to minimize capital expenditures. Additionally, the depreciation on used equipment is considerably less steep, which means it retains more of its value should you decide to sell it later. Purchasing used equipment also allows quicker acquisition since you typically bypass the manufacturing lead times associated with new equipment orders.
Evaluating the Condition of Used Spray Rigs
When considering a used spray rig, the most critical factor is the condition of the equipment. It’s essential to thoroughly inspect the rig, ideally with the help of a knowledgeable technician. Check for signs of wear and tear, potential damage, and the overall operational status of the machine. Assess the condition of key components like the spray guns, hoses, and the proportioner. Ensure the equipment has been well-maintained and inquire about any recent repairs or part replacements. A well-maintained used rig can offer reliability close to that of a new one at a fraction of the cost.
Where to Find Used Spray Rigs
Finding quality used spray rigs requires knowing where to look. One of the best places to start is specialty equipment resellers focusing on selling used construction and industrial machinery. These vendors often understand the equipment well and can provide a history of the rig’s usage and maintenance. Online marketplaces and auctions are another avenue, though they may require more diligence to ensure the equipment meets your standards. Networking with industry contacts can also lead to great deals on used spray rigs for sale.
Key Features to Check Before Purchase
Before purchasing a used spray rig, several key features require close inspection to ensure they meet the operational demands of your projects. The proportioner should function efficiently at the correct temperatures and pressures. Hoses should be free of cracks and leaks, while spray guns should deliver a consistent spray pattern. Check the electrical and mechanical systems to ensure they are in good working order, and pay attention to the rig’s trailer or chassis, which should be structurally sound and rust-free.
The Importance of a Reliable Seller
The reliability of the seller is crucial when purchasing used equipment. A reputable seller should provide transparent information about the rig’s history, including its age, usage, maintenance records, and any significant repairs. They should be willing to allow a thorough inspection of the rig and possibly even a demonstration to prove its functionality. Buying from established and respected sellers can decrease the likelihood of encountering issues with the equipment after purchase.
Potential Costs of Refurbishment
While purchasing a used spray rig can save money initially, it’s important to consider potential refurbishment costs. Depending on the rig’s condition, you might need to invest in repairs or upgrades soon after purchase. Factor in the costs of replacing hoses, repairing spray guns, or updating the proportioning system to ensure the rig meets your needs. Setting aside a budget for these potential expenses will help determine the cost of purchasing a used rig.
Warranty and Support Issues
Unlike new equipment, used spray rigs often have limited or no warranty. Any malfunctions or breakdowns will likely be your responsibility to fix, potentially adding to the overall cost of ownership. It’s important to discuss support options with the seller, whether they offer any guarantees or after-sale support, and if not, plan for how you will manage repairs and maintenance. Having a reliable service technician or a good relationship with a local equipment repair shop can mitigate some of these risks.
Financing Options for Used Spray Rigs
Financing used equipment can be more challenging than financing new equipment due to the increased risk perceived by lenders. However, many equipment financing companies offer loans or leases for used equipment purchases. These financing options can help spread the cost of the rig over time, making it more manageable. Shop for financing options to find terms that best suit your business’s cash flow and financial status.
Making the Decision: New vs. Used Spray Rigs
Deciding whether to invest in a new or used spray rig often comes down to comparing the immediate cost savings of used equipment against the long-term benefits of new. Consider factors such as the expected lifespan of the rig, potential downtime due to repairs, and the importance of technological advancements included in newer models. For some businesses, the latest technology and the peace of mind of a warranty are worth the extra investment. For others, the cost savings of a used rig align better with their financial strategy.
Investing in a used spray rig can be a smart financial decision for many businesses, offering significant savings and immediate availability. However, careful consideration of the rig’s condition, potential additional costs, and the seller’s reliability is required. By conducting thorough research and inspections, negotiating wisely, and preparing for additional maintenance investments, businesses can greatly benefit from the advantages of used spray rigs while minimizing the risks.
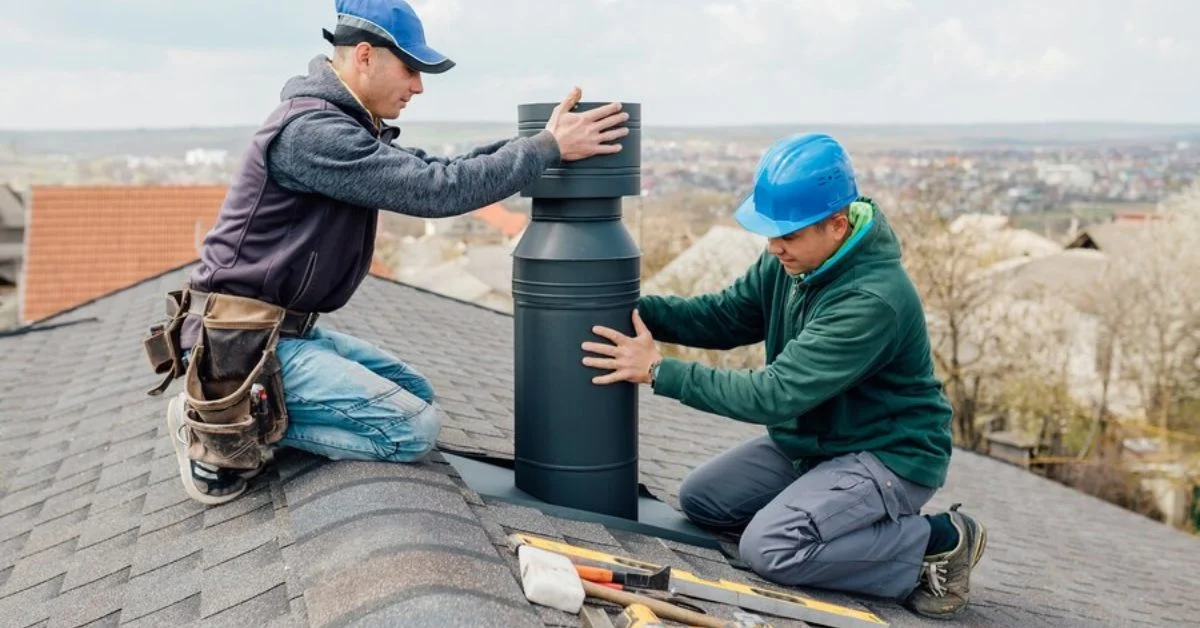
Chimney caps are vital in maintaining the safety and efficiency of your home’s heating system. These caps are designed to cover the top of your chimney flue. They prevent animals, debris, and water from entering the chimney, which can cause blockages or damage. Additionally, they help prevent sparks or embers from escaping the chimney and potentially starting a fire on your roof or nearby combustible materials. Regular maintenance of your chimney cap is crucial as it helps avoid costly repairs and extends the life of your chimney. For residents experiencing issues with their chimney caps, seeking professional chimney cap repair in Portland ensures that all repairs are conducted with high standards and quality materials.
Identifying Common Issues with Chimney Caps
Common issues with chimney caps include rusting, corrosion, and physical damage such as dents or dislodgement. Rust and corrosion can occur due to exposure to the elements, especially in areas with high humidity or coastal regions where salt is present. Physical damage can occur from severe weather conditions such as high winds or heavy snowfall. It’s also common for chimney caps to become loose over time, which can compromise their functionality. Regular inspections can help identify these issues early, preventing further damage to your chimney system.
Materials Used in Chimney Caps: Pros and Cons
Chimney caps are typically made from metals like galvanized steel, stainless steel, or copper. Galvanized steel is cost-effective but prone to rust over time, diminishing its durability. Stainless steel offers better resistance to rust and corrosion, making it a more reliable choice for chimney caps, although it is more expensive. Copper is the most durable and aesthetically pleasing option, but it comes at a higher cost and requires regular polishing to maintain its shiny appearance. Choosing the right material depends on your budget, the climate of your area, and how often you are willing to perform maintenance.
Step-by-Step Guide to Inspecting a Chimney Cap
Inspecting your chimney cap is a straightforward process that you can do yourself or with the help of a professional. Begin by visually examining the cap from the ground to see if there are any obvious signs of damage or wear. Use binoculars if necessary. If it looks intact, use a ladder to get a closer view. Check for rust and corrosion, and ensure the cap is securely attached to the flue. Look inside the flue to see if any blockage is visible from the top. If you are uncomfortable performing this inspection independently, consider hiring a professional to ensure it is done safely.
Tools and Materials Needed for DIY Chimney Cap Repair
For DIY chimney cap repair, you will need basic tools and materials, including a hammer, pliers, wire brush, and appropriate sealants or paints, depending on the material of your cap. For example, if you have a galvanized steel cap, you might need rust-inhibiting paint to treat areas where rust has formed. Stainless steel caps only require cleaning and tightening, whereas copper caps need polishing and lacquering to restore appearance. Always ensure you have the correct safety gear, such as gloves, goggles, and a sturdy ladder.
Professional Repair Services: When to Call in the Pros
While many aspects of chimney cap maintenance can be handled on a DIY basis, there are times when it’s advisable to call in professionals. This is particularly true if the damage to your chimney cap is extensive or if the cap requires complete replacement. Professionals can also help in cases where the chimney has been damaged or if there are signs of blockage you cannot clear yourself. Hiring a professional can ensure that all parts of your chimney system are in optimal working condition and safe to use.
Long-Term Maintenance Strategies for Chimney Caps
Implement a routine maintenance schedule to ensure the longevity and effectiveness of your chimney cap. This includes regular inspections and immediate repairs of any small issues before they become major problems. Consider treating metal chimney caps with rust inhibitors or applying waterproof sealants to prevent water damage. It is also advisable to clean your chimney and cap annually to remove soot, debris, and creosote buildup, which can affect the performance of your heating system and pose a fire hazard.
The Role of Chimney Caps in Home Safety
Ultimately, chimney caps play a crucial role in maintaining your home’s safety. They prevent the ingress of rainwater, which can lead to structural damage and mold growth within your chimney. They also block animals from nesting in the chimney, which can cause blockages and hazardous conditions. Chimney caps reduce the fire risk by keeping embers contained, protecting your home and its occupants. Regular maintenance and prompt repair of your chimney cap are essential to ensure your home remains safe and your heating system operates efficiently throughout the year.
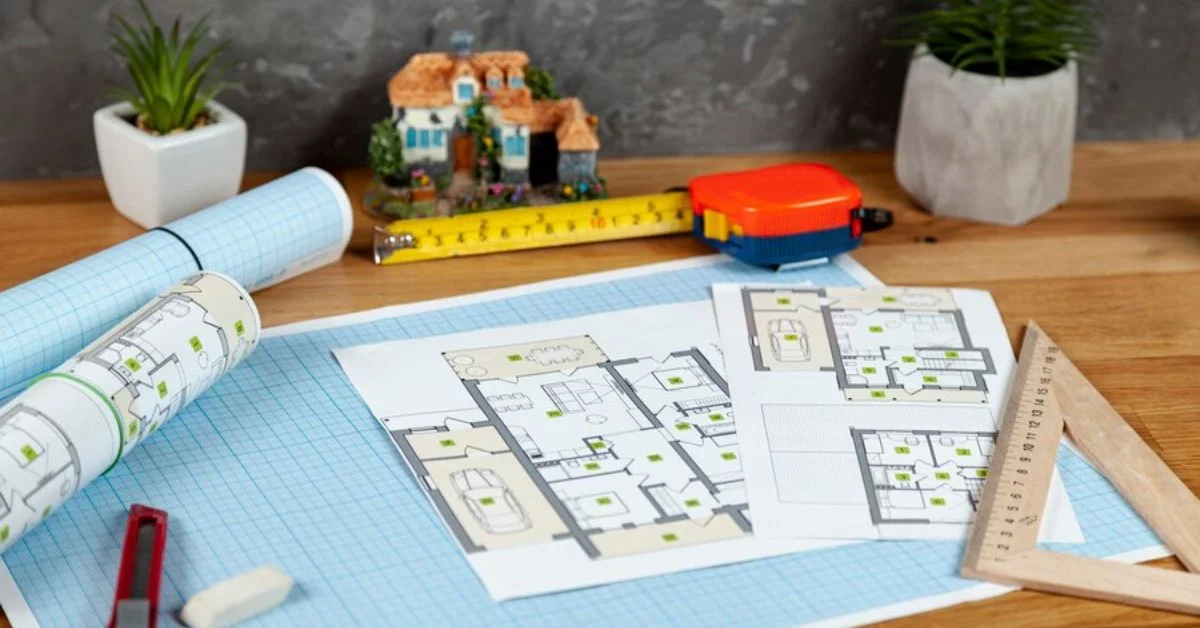
Carriage house floor plans are detailed blueprints that outline the layout and design of carriage houses, versatile structures that serve various purposes such as garages, guesthouses, studios, or rental units. These floor plans provide essential guidance for architects, builders, and homeowners to visualize and execute the construction of carriage houses according to specific needs and preferences. Homeowners can maximize their creativity and find the perfect layout by taking the time to explore different carriage house floor plans.
Types of Carriage House Floor Plans
Several types of carriage house floor plans are available, each catering to different requirements and lifestyles. Traditional floor plans typically feature a two-story design, with a garage on the ground floor and living quarters or storage space above. Modern floor plans may include single-story or multi-level layouts with open-concept living spaces, gourmet kitchens, and luxurious amenities. Additionally, some floor plans incorporate additional features such as balconies, decks, or rooftop gardens to maximize outdoor living space.
Layout and Space Utilization
A carriage house floor plan layout is crucial for maximizing space utilization and functionality. Efficient floor plans prioritize open flow between rooms, with designated living, dining, cooking, and sleeping areas. Ample storage space, including closets, cabinets, and built-in shelving, helps minimize clutter and maintain organization. Flexibility in design allows for customization according to individual needs, whether creating a home office, a fitness area, or a rental unit for supplemental income.
Architectural Styles and Aesthetic Appeal
Carriage house floor plans come in various architectural styles, from traditional to contemporary, to suit different tastes and preferences. Classic styles may feature elements such as pitched roofs, dormer windows, and decorative trim, evoking a sense of nostalgia and charm. On the other hand, modern styles may incorporate clean lines, minimalist design, and sleek finishes for a more contemporary look and feel. By selecting the right architectural style, homeowners can enhance their carriage house’s aesthetic appeal and overall ambiance.
Integration with Main Residence
Carriage house floor plans are often designed to complement the architecture and style of the main residence, creating a cohesive and harmonious aesthetic. Integration with the main residence may involve matching exterior finishes, coordinating rooflines, and maintaining consistent architectural details. Additionally, the thoughtful placement of the carriage house on the property ensures privacy and visual harmony while maximizing views and natural light. Whether attached or detached, the carriage house should feel like a seamless extension of the main residence, enhancing the property’s overall value and curb appeal.
Accessibility and Universal Design
Accessibility is an essential consideration in carriage house floor plans, ensuring that the space is usable and enjoyable for people of all ages and abilities. Universal design principles may include wider doorways, zero-step entries, lever door handles, and accessible bathrooms with grab bars and roll-in showers. These design elements promote safety, convenience, and independence for homeowners and guests, regardless of mobility limitations. By incorporating universal design principles into carriage house floor plans, homeowners can create inclusive and welcoming spaces that accommodate diverse needs and lifestyles.
Energy Efficiency and Sustainable Design
Carriage house floor plans can incorporate energy-efficient and sustainable design principles to minimize environmental impact and reduce utility costs. This may include high-performance insulation, energy-efficient windows and doors, passive solar design, and renewable energy systems like solar panels or geothermal heating. By optimizing energy efficiency, carriage houses can operate more sustainably and affordably, benefiting both the environment and homeowners’ wallets. Sustainable materials and construction practices also contribute to healthier indoor air quality and long-term durability, ensuring that the carriage house remains a comfortable and environmentally responsible living space for years.
Outdoor Living Spaces and Landscaping
Carriage house floor plans often include outdoor living spaces and landscaping features to enhance the overall functionality and enjoyment of the property. This may include patios, decks, or courtyard gardens for outdoor entertaining, relaxation, and recreation. Thoughtful landscaping with native plants, trees, and shrubs enhances curb appeal and promotes biodiversity, water conservation, and ecological resilience. Homeowners can create inviting and sustainable environments that blur the line between indoor and outdoor living by integrating outdoor living spaces and landscaping into carriage house floor plans.
Carriage house floor plans offer homeowners a flexible and customizable solution for creating additional space on their property. By exploring different types of floor plans, considering layout and space utilization, selecting architectural styles, integrating with the main residence, prioritizing accessibility and universal design, promoting energy efficiency and sustainable design, and incorporating outdoor living spaces and landscaping, homeowners can design carriage houses that meet their unique needs and preferences. With careful planning, attention to detail, and collaboration with architects and builders, carriage house floor plans can transform visions into reality, creating functional, beautiful, and harmonious spaces that enhance the overall value and enjoyment of the property.


 BUSINESS1 year ago
Exploring the Benefits of Commercial Printing
- HOME IMPROVEMENT12 months ago
The Do’s and Don’ts of Renting Rubbish Bins for Your Next Renovation

 BUSINESS12 months ago
Brand Visibility with Imprint Now and Custom Poly Mailers
- HEALTH8 months ago
The Surprising Benefits of Weight Loss Peptides You Need to Know
- TECHNOLOGY10 months ago
Dizipal 608: The Tech Revolution Redefined
- HEALTH8 months ago
Your Guide to Shedding Pounds in the Digital Age
- HOME IMPROVEMENT8 months ago
Get Your Grout to Gleam With These Easy-To-Follow Tips

 HEALTH11 months ago
Happy Hippo Kratom Reviews: Read Before You Buy!